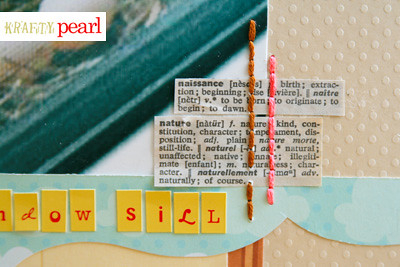
As I mentioned in my previous post, Cartwheels in My Mind challenged readers to use a torn book page in two projects so here's my second project.
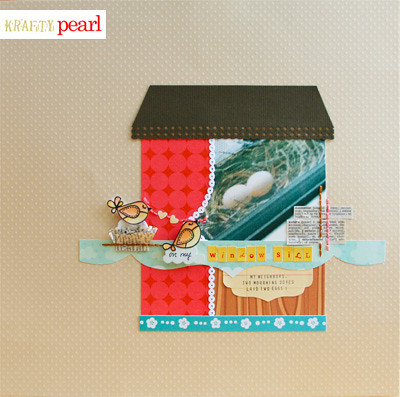
This past Valentine's day, I received the grandest flower arrangement ever... and really, they were blooms that made my heart flutter. Unfortunately, I couldn't just whip out my digital SLR at work to take photos of them, so you'll have to excuse the fuzzy iPhone photo. I already find it a bit of a challenge to scrapbook inanimate objects and it's even more challenging when I have a sub par photo. But with the help of super cute Jillibean Soup Dutch mustard soup patterns and a simple layout, thanks to Pencil Lines sketch #232, I think I made it work. I tried to keep the layout relatively light and airy so it wouldn't overpower the already difficult picture. So what do you think?
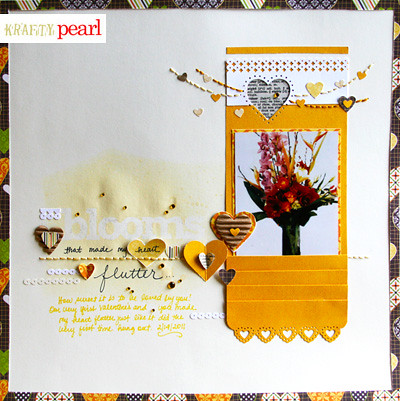
Used: Jillibean Soup pattern papers, alpha stickers; My Little Shoebox pattern papers; Studio Calico Mr. Huey mist; Martha Stewart studded heart punch and EK Success punch; DMC embroidery floss; Bic Mark-it markers
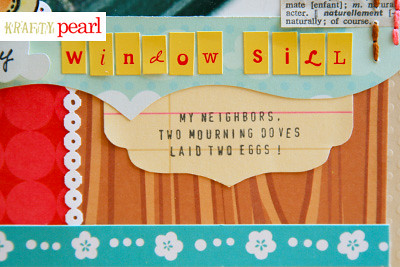
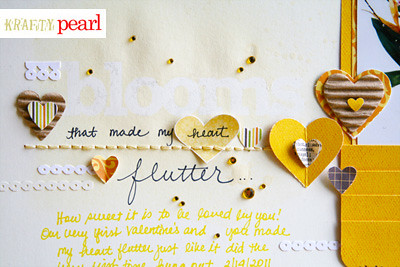
Here's a closer look: I used the Jillibean Soup alphabet stickers as a mask and created part of the title using Studio Calico's Mr. Huey mist in cream. By creating a faint mask for part of the title with cream mist on cream cardstock, I was able to keep the airiness in the title. I also cut and punched hearts out of the Jillibean Soup pattern paper and used as decorative/dimensional accents.
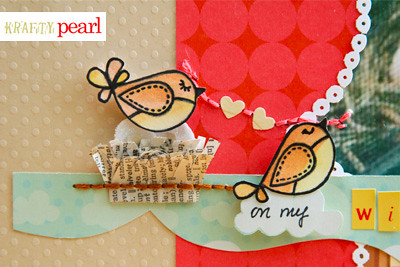
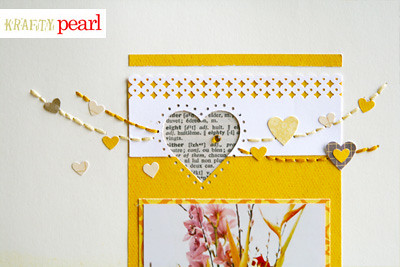
As you can tell, I love hearts, pennants, and stitching in layouts. I especially love incorporating a mix of hearts in all different shapes and sizes. I used the Martha Stewart studded heart all over the pages punch as a window and slipped the torn book page behind it. I then used a mix of Jillibean Soup and My Little Shoebox pattern papers to create the rest of the heart pennants. I hand cut a few of the hearts from the Jillibean Soup pattern paper and punched the other hearts using a favorite, the Martha Stewart lace heart edge punch and my trusty EK Success heart Paper Shaper punch.
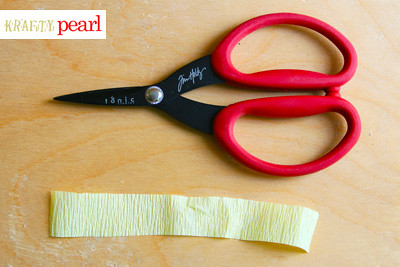
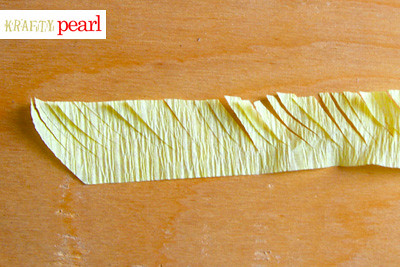
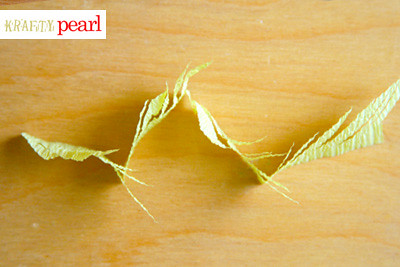
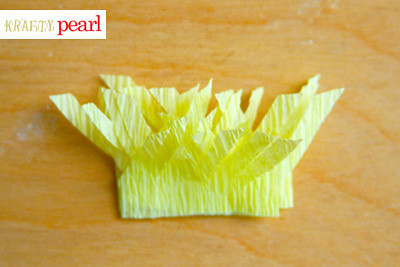
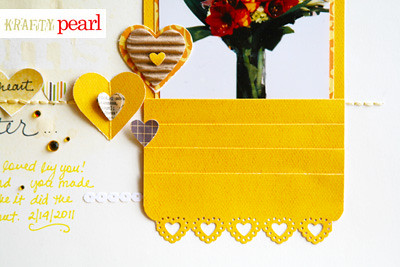
Lastly, one of my favorite parts of this layout is the pleating here. Again, a simple touch to accent the photo without overwhelming it:
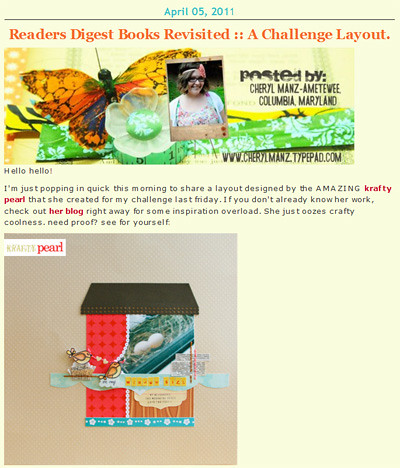
On a another note, I'm doing cartwheels in my mind! The very awesome Cheryl of Cartwheels in My Mind featured my latest 'On My Window Sill' layout on the Cartwheels blog! Woweeee! In that same post, she shares a layout about her daughter and grandmother with very touching journaling, a very special photo, and very cute torn book page idea, you have to check it out! Thanks, Cheryl, for the challenge, inspiration, and feature!
Thanks for looking!
- KRAFTY pearl
This past Valentine's day, I received the grandest flower arrangement ever... and really, they were blooms that made my heart flutter. Unfortunately, I couldn't just whip out my digital SLR at work to take photos of them, so you'll have to excuse the fuzzy iPhone photo. I already find it a bit of a challenge to scrapbook inanimate objects and it's even more challenging when I have a sub par photo. But with the help of super cute Jillibean Soup Dutch mustard soup patterns and a simple layout, thanks to Pencil Lines sketch #232, I think I made it work. I tried to keep the layout relatively light and airy so it wouldn't overpower the already difficult picture. So what do you think?
Used: Jillibean Soup pattern papers, alpha stickers; My Little Shoebox pattern papers; Studio Calico Mr. Huey mist; Martha Stewart studded heart punch and EK Success punch; DMC embroidery floss; Bic Mark-it markers
Here's a closer look: I used the Jillibean Soup alphabet stickers as a mask and created part of the title using Studio Calico's Mr. Huey mist in cream. By creating a faint mask for part of the title with cream mist on cream cardstock, I was able to keep the airiness in the title. I also cut and punched hearts out of the Jillibean Soup pattern paper and used as decorative/dimensional accents.
As you can tell, I love hearts, pennants, and stitching in layouts. I especially love incorporating a mix of hearts in all different shapes and sizes. I used the Martha Stewart studded heart all over the pages punch as a window and slipped the torn book page behind it. I then used a mix of Jillibean Soup and My Little Shoebox pattern papers to create the rest of the heart pennants. I hand cut a few of the hearts from the Jillibean Soup pattern paper and punched the other hearts using a favorite, the Martha Stewart lace heart edge punch and my trusty EK Success heart Paper Shaper punch.
Lastly, one of my favorite parts of this layout is the pleating here. Again, a simple touch to accent the photo without overwhelming it:
On a another note, I'm doing cartwheels in my mind! The very awesome Cheryl of Cartwheels in My Mind featured my latest 'On My Window Sill' layout on the Cartwheels blog! Woweeee! In that same post, she shares a layout about her daughter and grandmother with very touching journaling, a very special photo, and very cute torn book page idea, you have to check it out! Thanks, Cheryl, for the challenge, inspiration, and feature!
Thanks for looking!
- KRAFTY pearl