Last year, I joined the 100 Day Project on Instagram and it changed my connection to creating. I learned so much through the process and am so thankful to @elleluna for putting this challenge out! So what did I learn?
I must build a creative discipline in the chaotic everyday. My everyday as a working mommy of two means there is a level of uncertainty everyday and I am operating rather exhaustedly. Finding a balance to ensure that I stick to making time to practice calligraphy or pick up a paint brush is a discipline that I value no matter how chaotic the day.
I must find time to create every day and every week. If you're a busy mum too and don't think you can find the time to make something, you can! On some days I wake up an extra 30 minutes earlier than my babe. Other days, I give my daughter crayons and her own book to draw and color. We sit together at the kitchen table and create together. Another option is to give her a few table toys she hasn't played with for some time and have her rediscover them while I spend a few minutes sketching something.

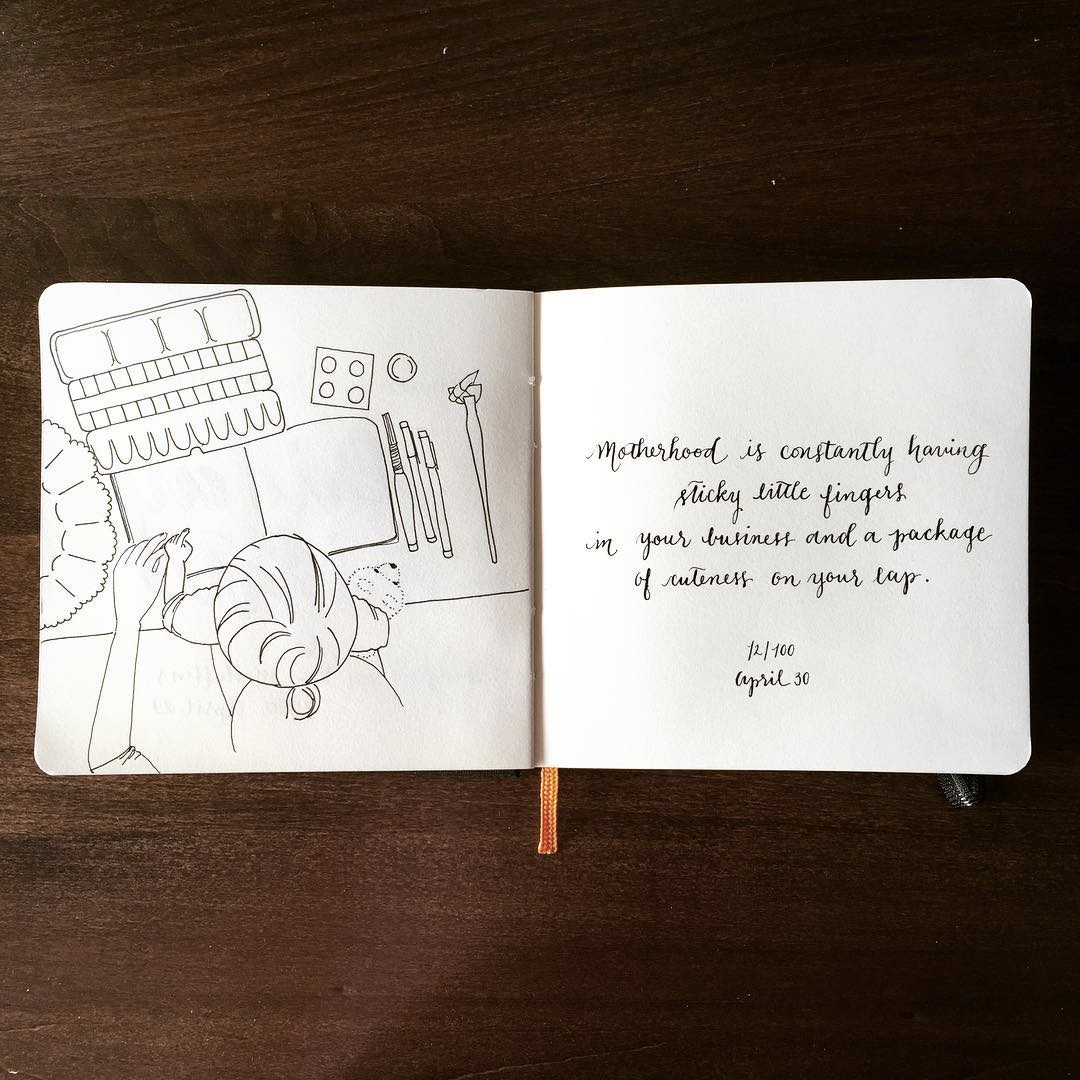
As shared on my Instagram feed on June 27, 2016, this was my kitchen table aka workspace over the weekend, when my daughter and I drew and colored together. Most days I wake up very early before work to write or draw #pearls100daymomproject2016 in my sketchbook, other times we use our right brains together side by side! Inspired by @etsy seller @ruth_oosterman to share what it's like to find time as a creative mum. My workspace is minimal and I don't have all the tools but I do what I can to have 20-30 mins to use my fine motor skills.
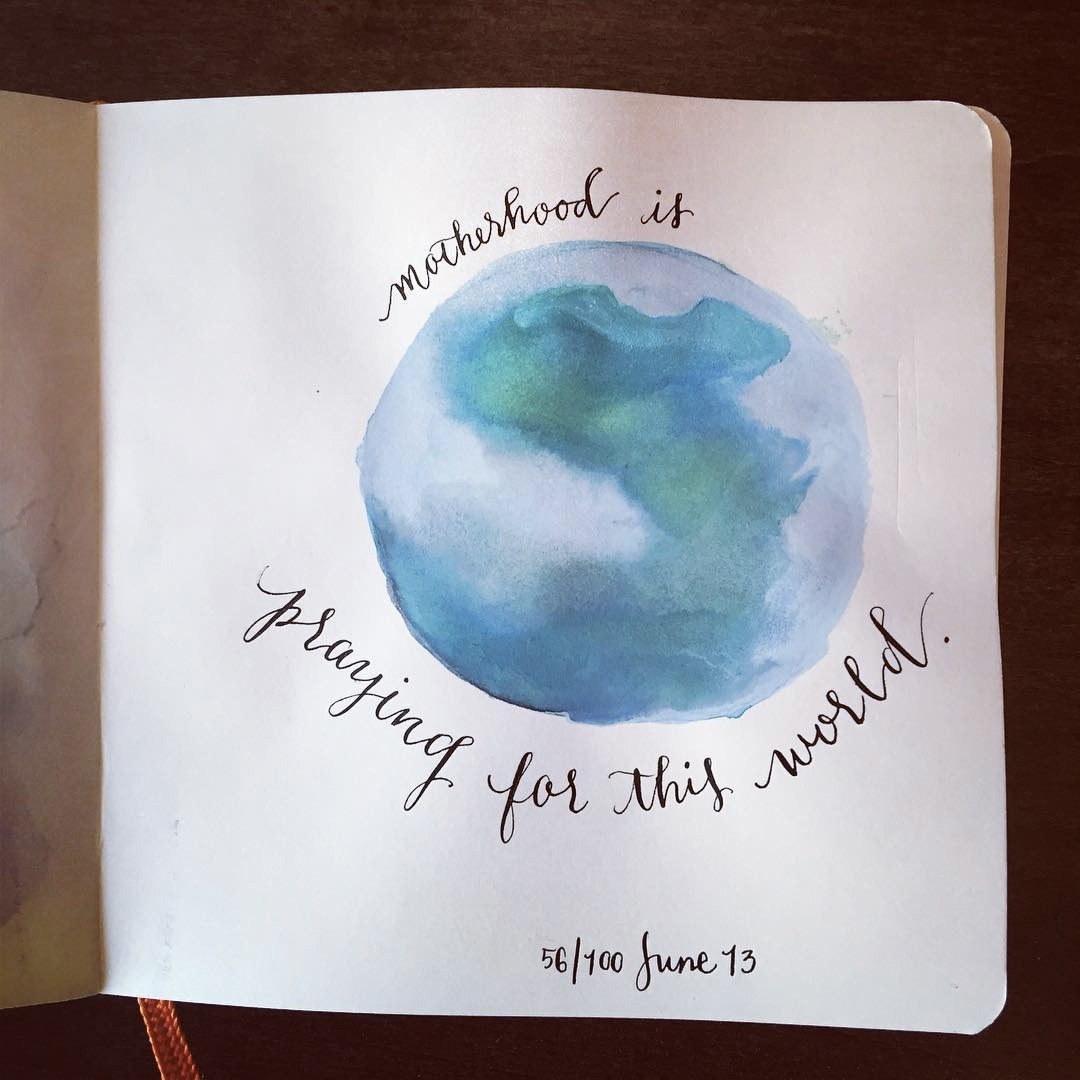
I nourished my soul through creative expression using my hands. While my brain is often filled with what's next with my family and work, being able to switch gears to study colors or practice calligraphy is incredibly nourishing for my soul. Creating something is an incredibly therapeutic process and helps clear my mind for a new kind of discovery each time I open the sketch book. It's also a really nice way to use my fine motor skills besides typing on the keyboard. :)
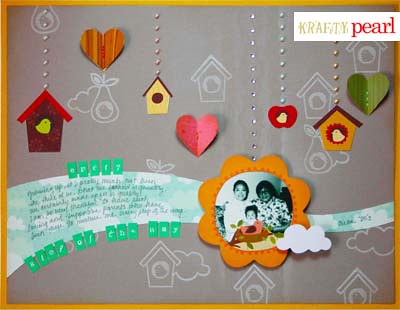
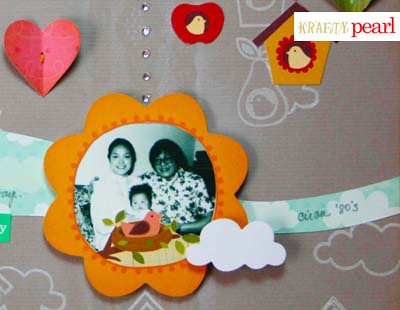
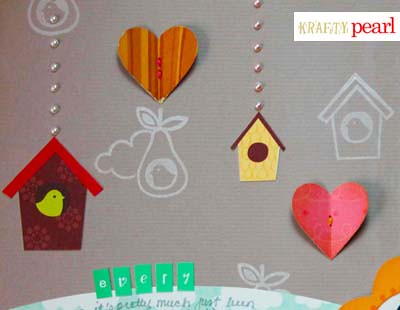
I enjoyed documenting everyday moments whether it be Project Life or #pearls100daymomproject2016. Since having the chance to create every day, I wanted to more of it. I've been extending my everyday creativity challenge into a weekly routine.

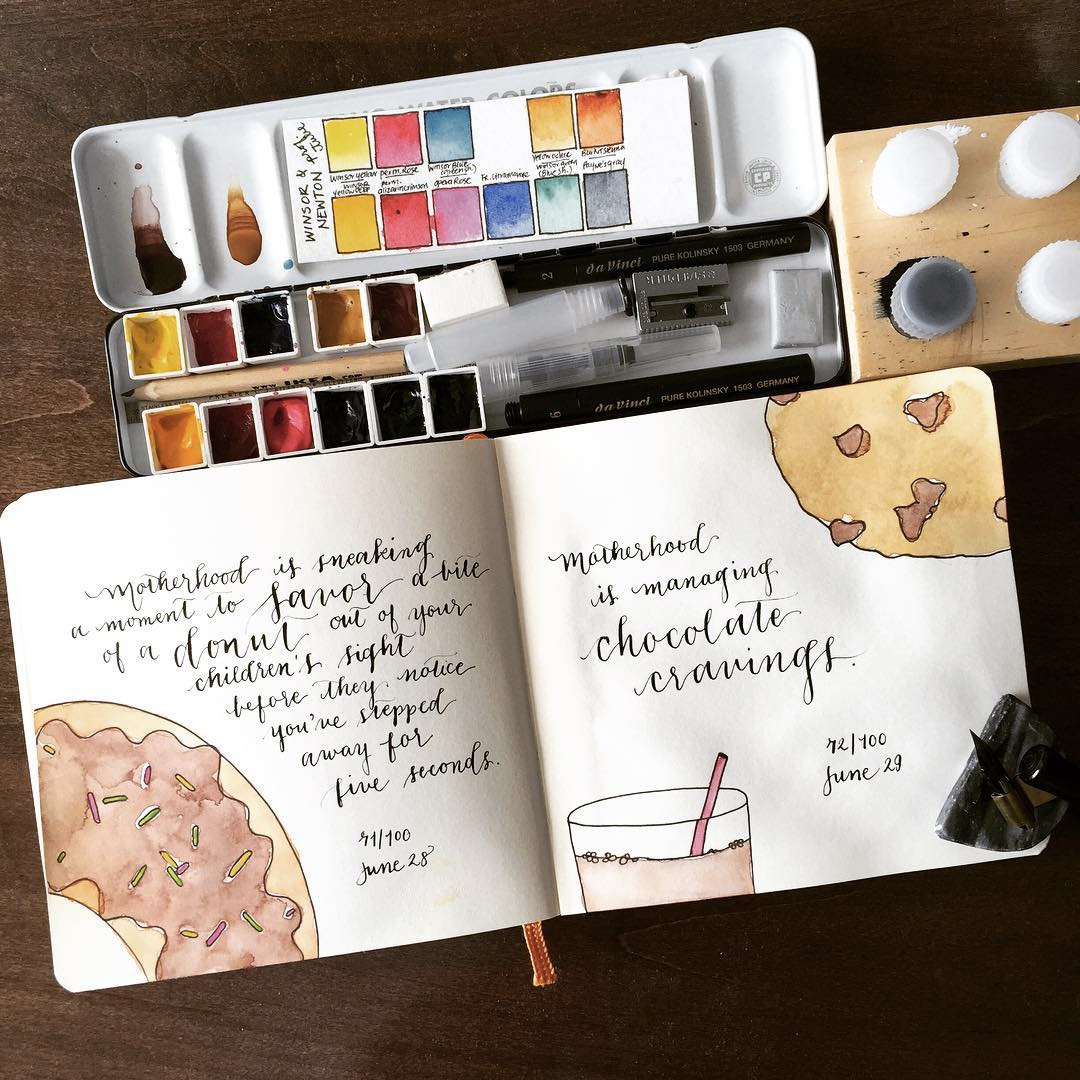


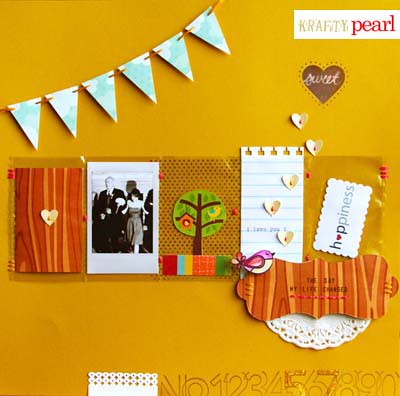
My other favorite part about art journaling was my exploration of color interactions. In addition to capturing everyday moments which is very natural for a scrapbooker like me, I really enjoyed the process of learning more about the science of my inks, paints, and tools. I have so many different types of dyes, pigments, and mediums, I just want to see how they all dance together.


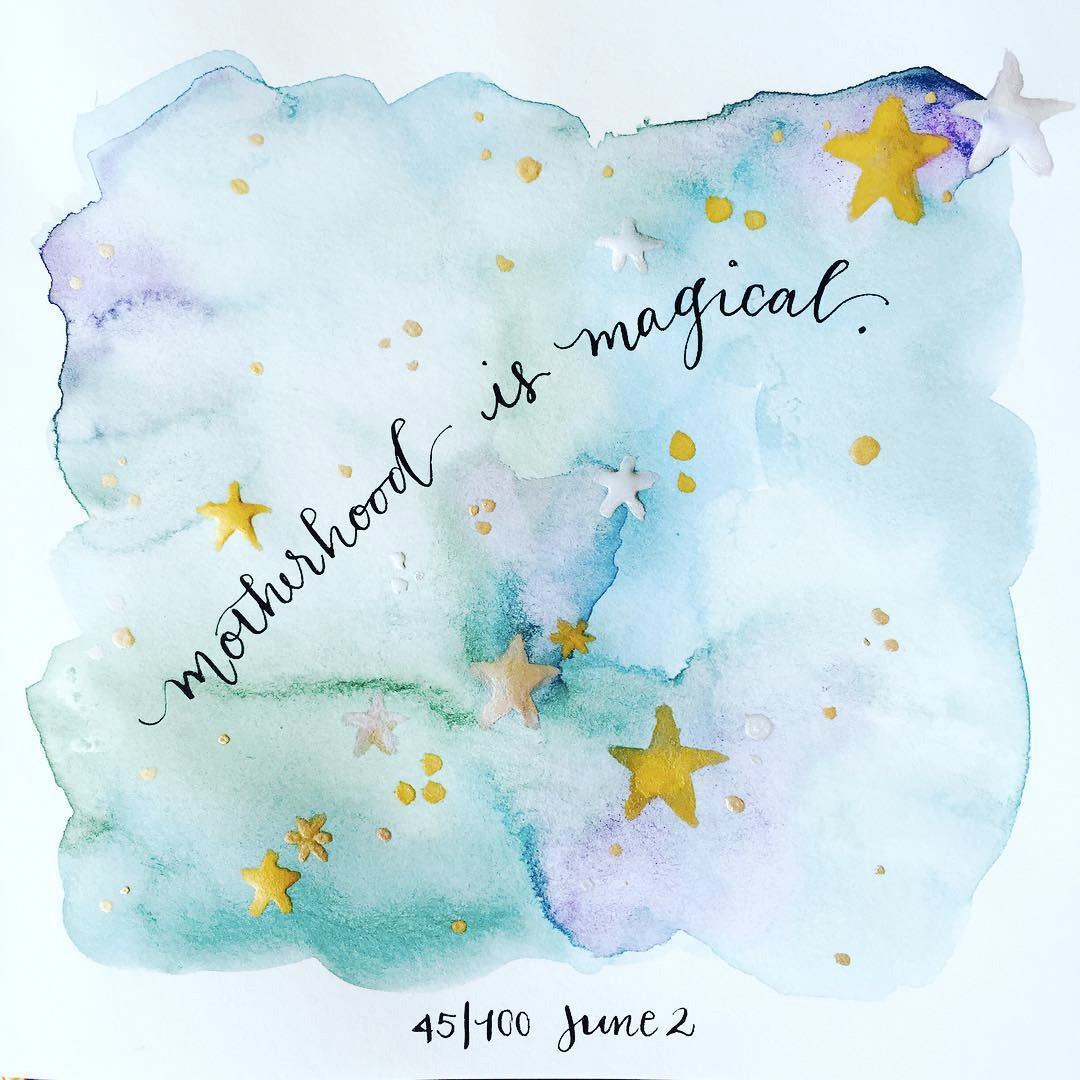
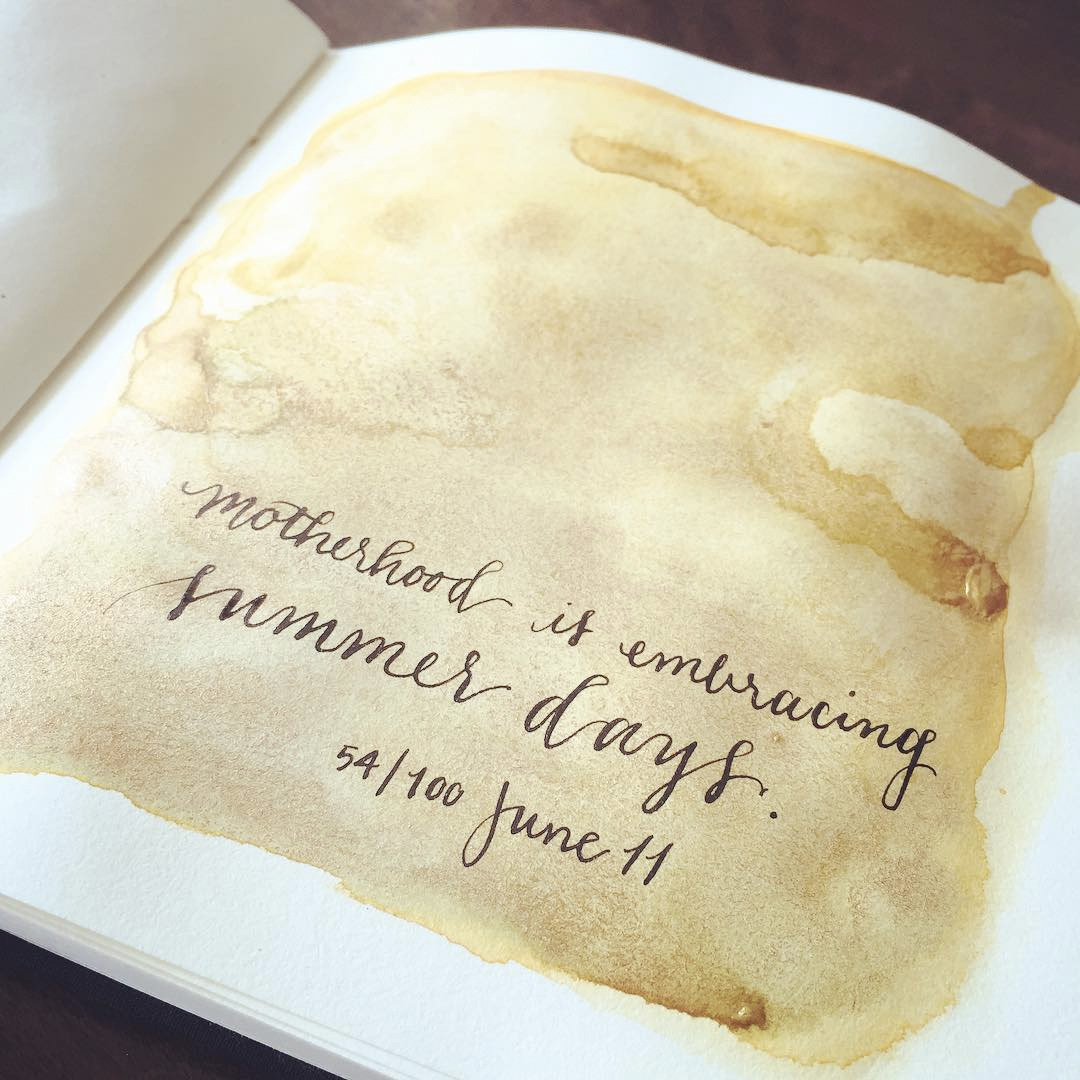
I loved shopping my stash! If you're like me, you've built up tons of supplies. Every time I want to try something new, I love shopping my own stash of supplies and learning how I can stretch them into different kinds of techniques. Art journaling allows me to test and trial with no pressure of having a finished or polished piece. Love!

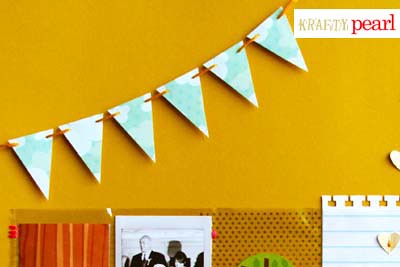
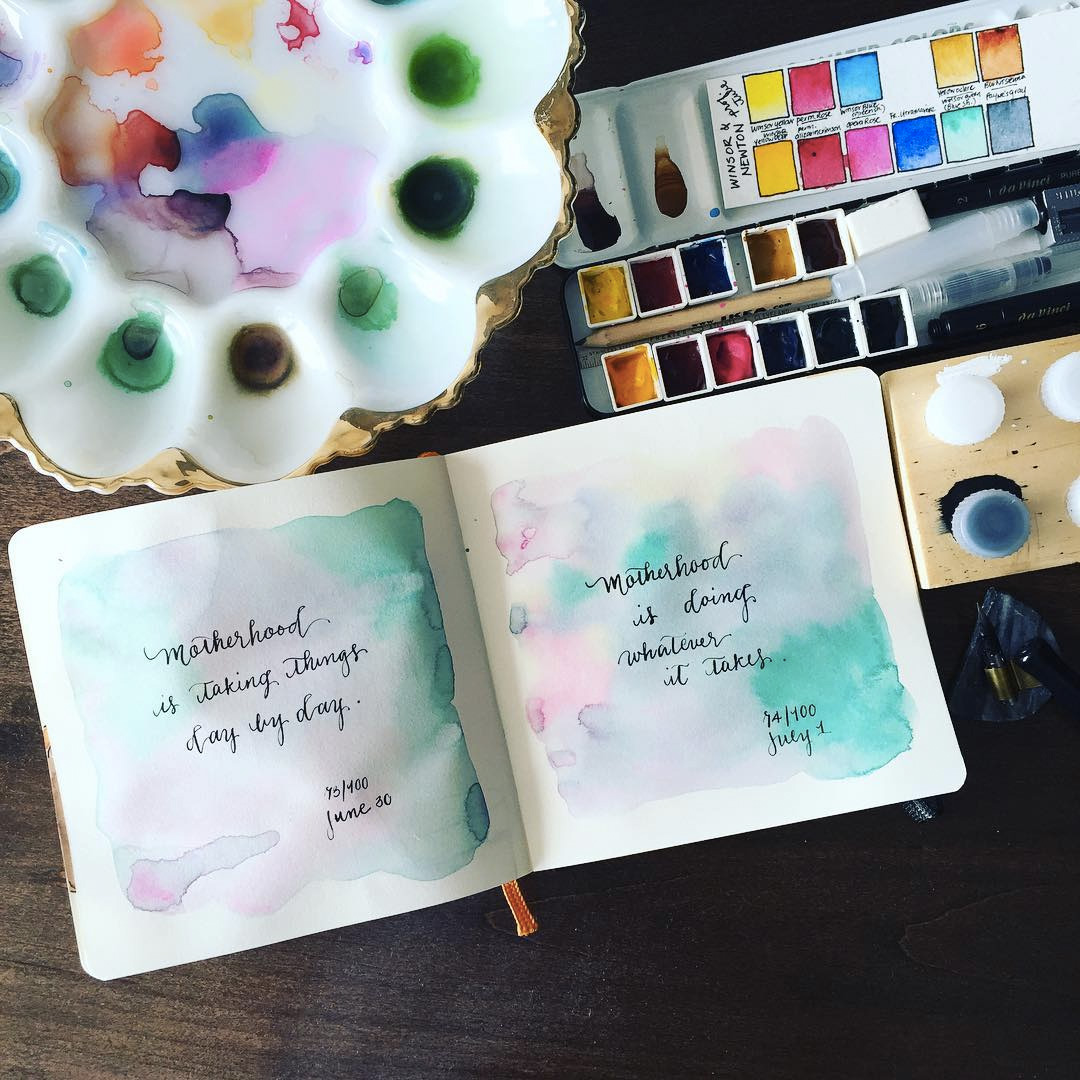
As shared on my Instagram feed of July 2, 2016, this was a 30-minute color study I had completed the night before.
See more of my creative mommy journey by following me on Instagram!